Installing a Fourth-Axis
Unit on the Roland MDX-20
Copyright 2009 by James
P. Riser
Today I happily took possession of a used Fourth-Axis
unit for my Roland MDX-20. This is what arrived in the small box
of goodies:
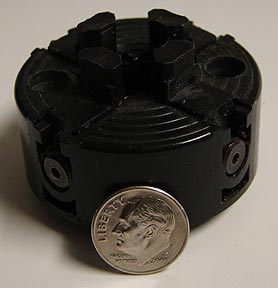
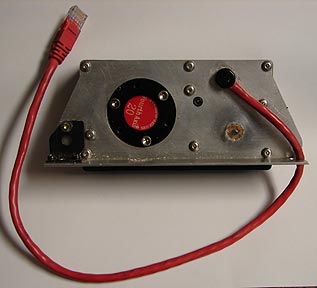 The Fourth-axis unit.
  Now I know what Chris was doing on my birthday in 2007!
The chuck. a magnetic plate, and depth sensor.
Now I know what Chris was doing on my birthday in 2007!
The chuck. a magnetic plate, and depth sensor. 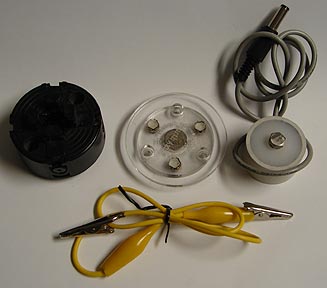
 The necessary software.
The interface box.
The necessary software.
The interface box. 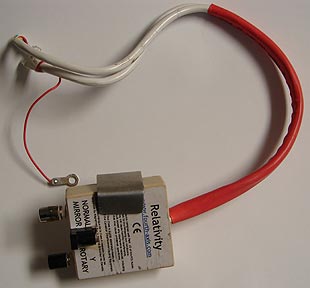
 And the manual.
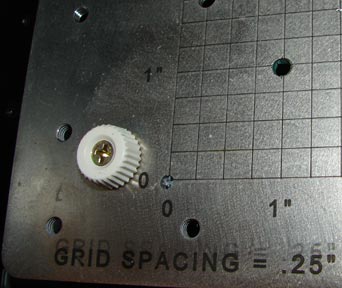
This is one tiny unit. Here is a close up of the little
chuck. At last a chuck that I can lift!
And the manual.
This is one tiny unit. Here is a close up of the little
chuck. At last a chuck that I can lift!
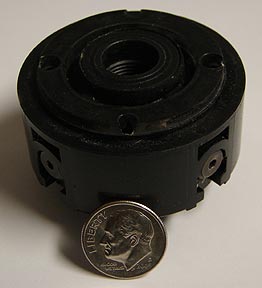
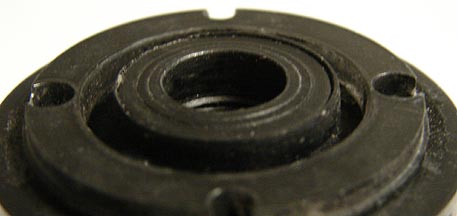 There is a steel
ring on the chuck back for alignment.
I am documenting this installation so that others might
feel less intimidated at the thought of the installation.
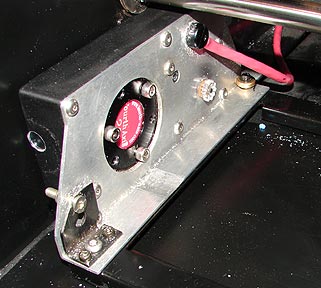
This is my Roland with its Fulcrum Motorsports plate.
There is a steel
ring on the chuck back for alignment.
I am documenting this installation so that others might
feel less intimidated at the thought of the installation.
This is my Roland with its Fulcrum Motorsports plate.
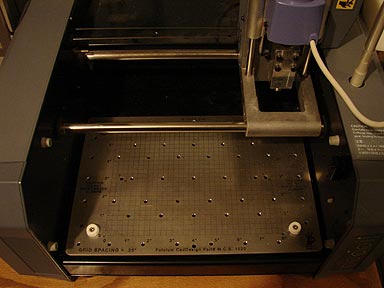 This wonderful plate must be removed for mounting the
Fourth-Axis unit.
This wonderful plate must be removed for mounting the
Fourth-Axis unit.
 Left side screws.
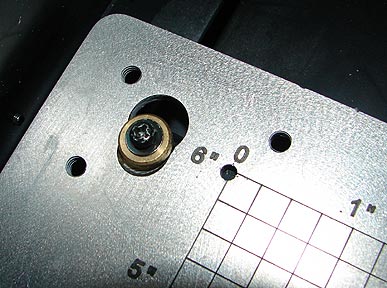 The Fourth-Axis unit gets gently screwed down.
  My unit had this corner modification made and installed
to help with fine alignment of the unit.
My unit had this corner modification made and installed
to help with fine alignment of the unit.
 The Fourth-Axis
unit screwed into position. Do not over tighten.
The Fourth-Axis
unit screwed into position. Do not over tighten.
 Next all power
was disconnected.
Next all power
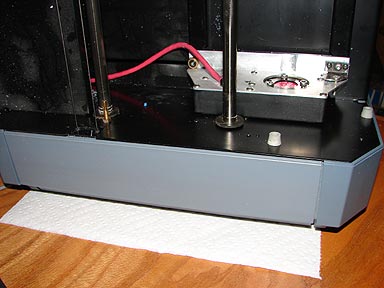
was disconnected. 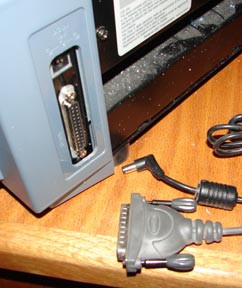 The Roland was tipped over onto its left side. Paper
towel was used to protect the surface finish.
The Roland was tipped over onto its left side. Paper
towel was used to protect the surface finish.
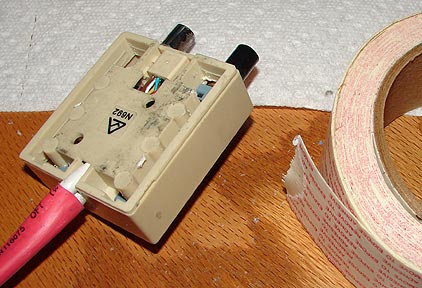
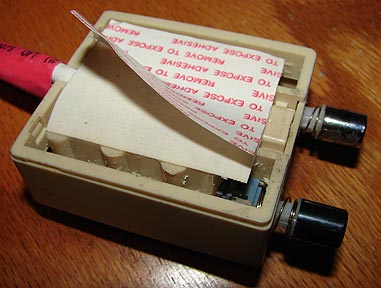
 According to the clearly written manual, the interface
box should come with a padded adhesive foam backing for attaching
to rear of the Roland. Mine being a used unit, did not have it.
So I decided to use some double sided carpet tape that I had on
hand. It worked fine. Below you may see the second backing being
removed.
According to the clearly written manual, the interface
box should come with a padded adhesive foam backing for attaching
to rear of the Roland. Mine being a used unit, did not have it.
So I decided to use some double sided carpet tape that I had on
hand. It worked fine. Below you may see the second backing being
removed.
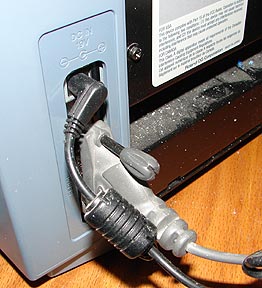
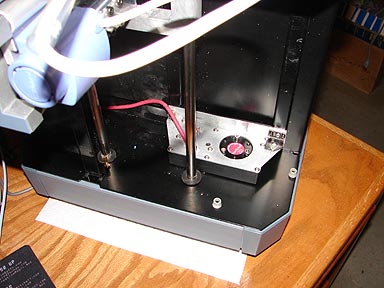
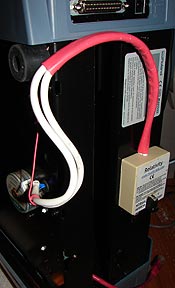
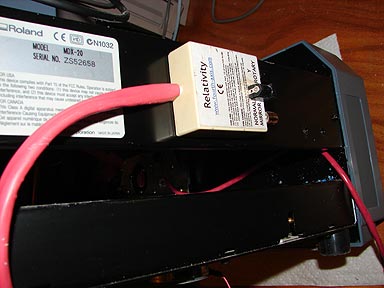 Here the interface
box is mounted on the rear of the Roland.
The red wire coming out of the Roland is from the Fourth-Axis
unit.
Now for the connections ...
Here the interface
box is mounted on the rear of the Roland.
The red wire coming out of the Roland is from the Fourth-Axis
unit.
Now for the connections ...
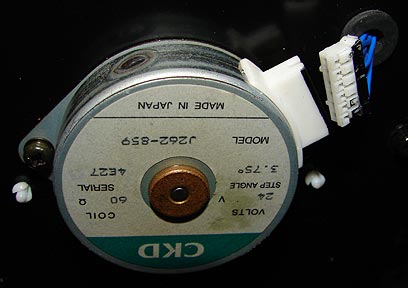
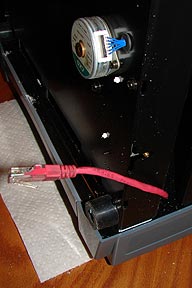 This is the Y -
motor that needed to be connected to the Fourth-Axis unit.
The connector shown here must be carefully undone.
This is the Y -
motor that needed to be connected to the Fourth-Axis unit.
The connector shown here must be carefully undone.
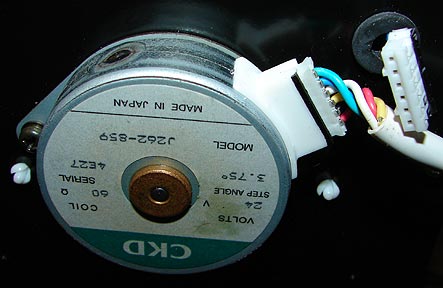
 This must be done
without any pulling on the wires.
A new unit comes with a connector puller. I did not
have one - but was careful.
The correct plug from the Fourth-Axis is connected.
This must be done
without any pulling on the wires.
A new unit comes with a connector puller. I did not
have one - but was careful.
The correct plug from the Fourth-Axis is connected.
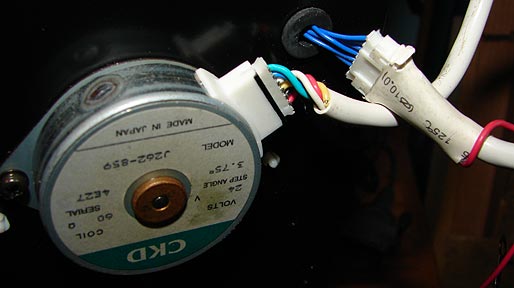 The second plug
goes to the original socket.
The ground wire on my unit is red! It connects to this
screw.
The second plug
goes to the original socket.
The ground wire on my unit is red! It connects to this
screw. 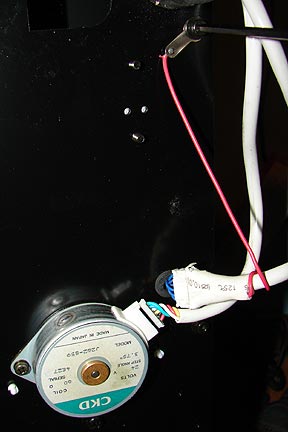 I need to make a cable clamp to hold the cables securely.
One comes with a new Fourth-Axis unit. This is needed to prevent
any damaging pull to the connector cables.
The cable from the Fourth-Axis unit plugs in to the
end of the interface box.
I need to make a cable clamp to hold the cables securely.
One comes with a new Fourth-Axis unit. This is needed to prevent
any damaging pull to the connector cables.
The cable from the Fourth-Axis unit plugs in to the
end of the interface box.
 Here is everything
connected .
Here is everything
connected .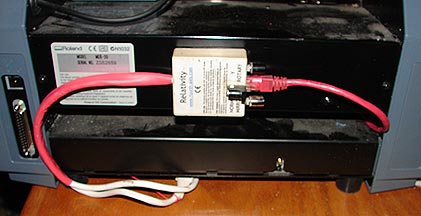
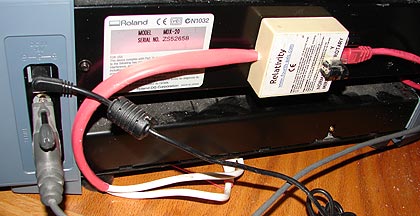 Power is reconnected.

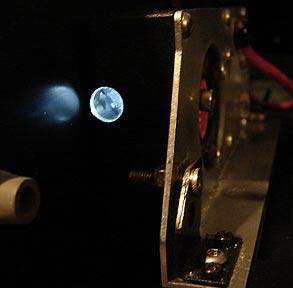 Once connected to power the Fourth-Axis
unit lights up!
The degree marking of the rotational unit may be easily
seen through this illuminated lens.
Once connected to power the Fourth-Axis
unit lights up!
The degree marking of the rotational unit may be easily
seen through this illuminated lens. 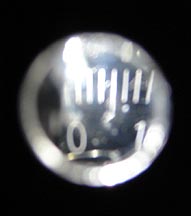 This is going to be cool!
I still need to try to pick up a tailstock for this
new unit - for some extra stability on longer items.
This is going to be cool!
I still need to try to pick up a tailstock for this
new unit - for some extra stability on longer items.
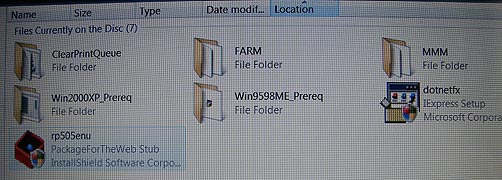 Next I will work
on installing the new software.
Continued later ...
Next I will work
on installing the new software.
Continued later ...