Creating the Vampire Master Casting Model
Copyright 2009 by James P. Riser
This page documents a few experiments done with the Roland
software during the creation of the final Vampire Model Casting
Master. This is for a product that I will be introducing in
the Fall of 2009. The machining was done with blue machinable
wax. The goal was to created a wax master for producing latex
molds for casting.
The master file and design work were created in Blender
by my younger son, Matt.
The master stl file is for a 360 degree vampire model. I will
only deal with a front view for my product requirements. Other
future products will deal with a full model.
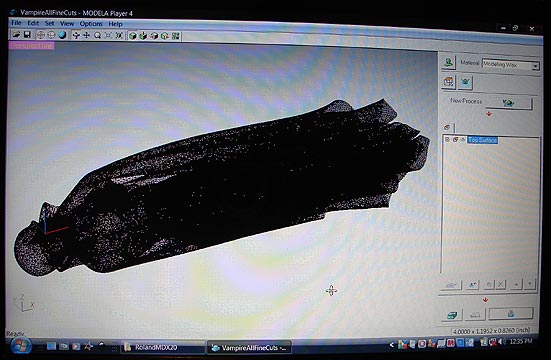 This is the master
file.
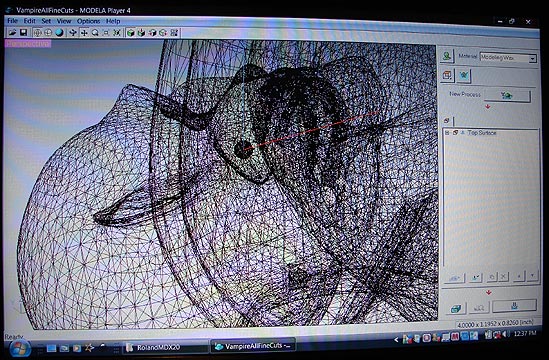
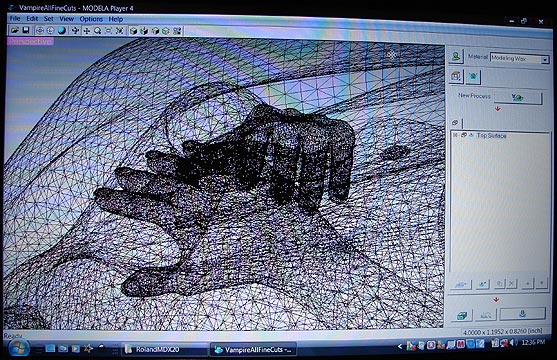
Here are a couple close up images of the detail.
This is the master
file.
Here are a couple close up images of the detail.
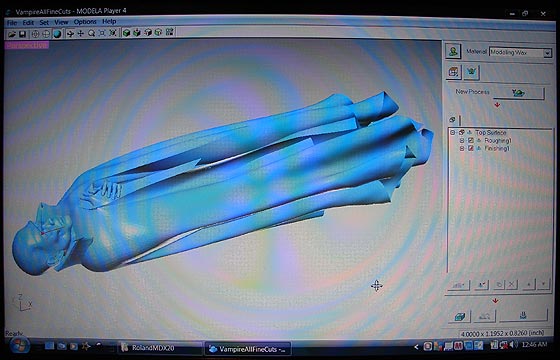
 Here is the rendered file.
 As you can see,
it is rather detailed.
The final model will only be 4" long by 1.25"
wide by .7" thick. It is hoped that too much detail will
not be lost at this small size.
To begin, the 1.5" x 3" x 7" wax block
was clamped onto the machining table.
As you can see,
it is rather detailed.
The final model will only be 4" long by 1.25"
wide by .7" thick. It is hoped that too much detail will
not be lost at this small size.
To begin, the 1.5" x 3" x 7" wax block
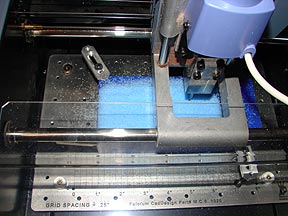
was clamped onto the machining table. 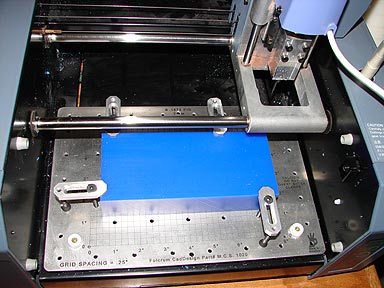 Machining was begun using "contours" for
the surface as I wanted to see what the outcome would be.
Machining was begun using "contours" for
the surface as I wanted to see what the outcome would be.
 Things went fine until the very end of the roughing
cycle. At the scale desired, the model would be just under .9"
thick. I had set up the machine to go to this full depth. Even
though I had set up for sloped sides for tool clearance, the tool
rubbed too much on the verticle sides of the model causing a wax
build up on the cutter.
Things went fine until the very end of the roughing
cycle. At the scale desired, the model would be just under .9"
thick. I had set up the machine to go to this full depth. Even
though I had set up for sloped sides for tool clearance, the tool
rubbed too much on the verticle sides of the model causing a wax
build up on the cutter.
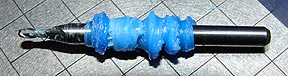 As if this was not bad enough, the machine started
to drill random holes in the wax. I believe this is due to the
software trying to deal with the back side of the model. Anyway,
one block of wax ruined; but much learned.
As if this was not bad enough, the machine started
to drill random holes in the wax. I believe this is due to the
software trying to deal with the back side of the model. Anyway,
one block of wax ruined; but much learned.
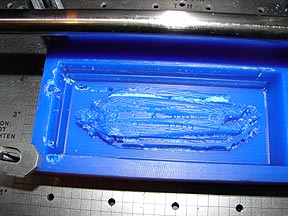
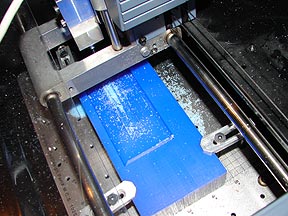
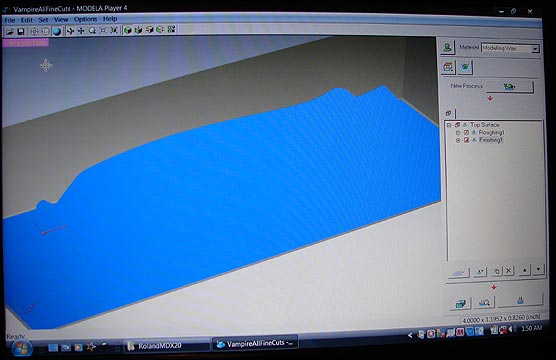
 I next decided to only machine to a depth of .7"
which would be fine for my needs. Still testing the contour cutting,
I obtained this result for the roughing cuts.
This was not going to do what I really wanted. The
contours are way too obvious.
I next decided to only machine to a depth of .7"
which would be fine for my needs. Still testing the contour cutting,
I obtained this result for the roughing cuts.
This was not going to do what I really wanted. The
contours are way too obvious.
 I reprogrammed to cut "x+y" for the passes
used during all cutting.
I reprogrammed to cut "x+y" for the passes
used during all cutting.
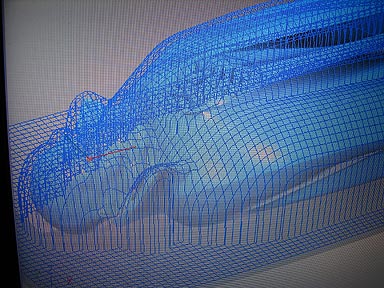
 This tool path
was generated.
This would be much more like what I was shooting for.
This tool path
was generated.
This would be much more like what I was shooting for.
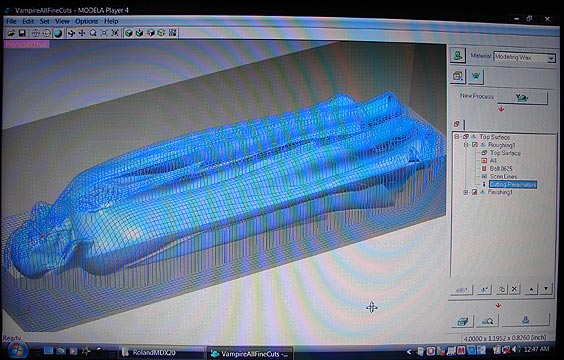
 The finishing tool path was so dense that it looked
like this.
The finishing tool path was so dense that it looked
like this.
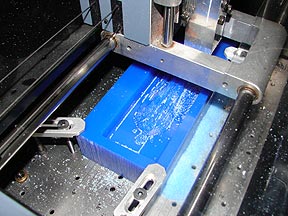
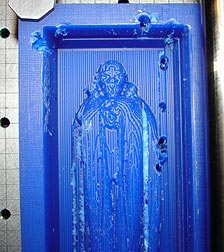
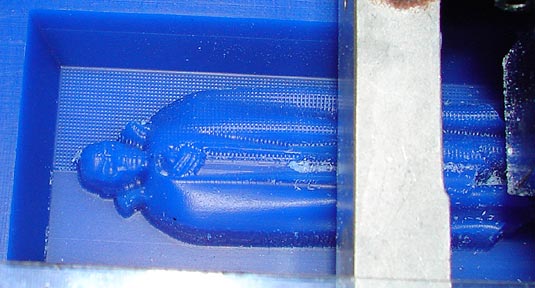
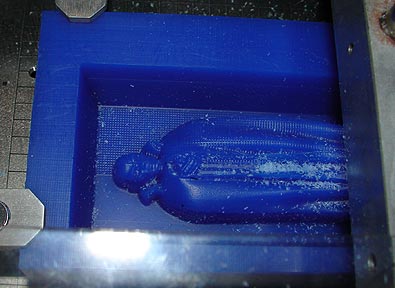
 In the two images below you can see the textured cuts
made during roughing and the smoother finishing cuts in progress.
In the two images below you can see the textured cuts
made during roughing and the smoother finishing cuts in progress.
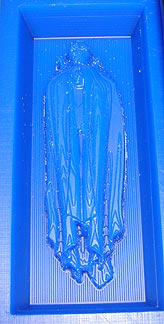
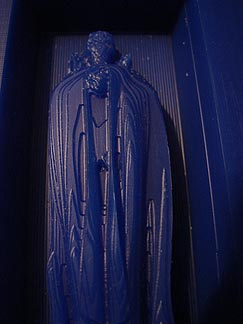
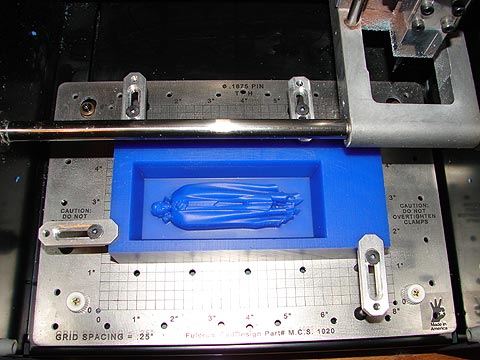
 Here is the completed Vampire Master Casting Model
still in the Roland MDX-20.
Here is the completed Vampire Master Casting Model
still in the Roland MDX-20.
 Some additional images to show the final detail . .
.
Some additional images to show the final detail . .
.
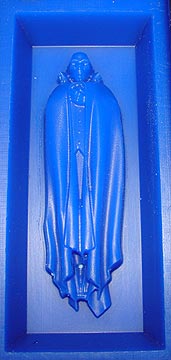
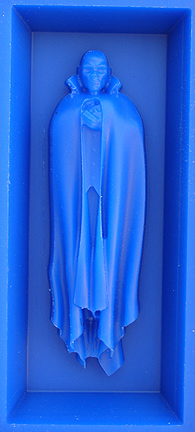
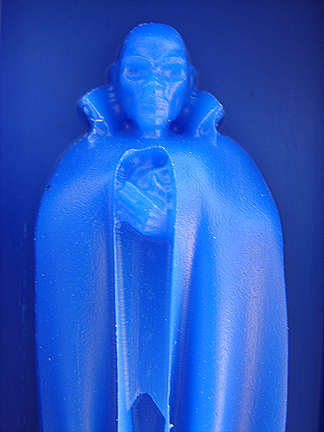
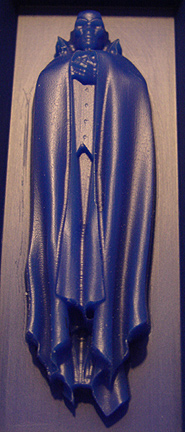 The Roland MDX-20 will certainly do what I wanted it
to do. I am very pleased with the detail obtained with the machine
and software.
Click
here to go to page 1
The Roland MDX-20 will certainly do what I wanted it
to do. I am very pleased with the detail obtained with the machine
and software.
Click
here to go to page 1