
Note: The images shown on this page were created over a several month time period. Therefore all images are not of the same spinning. You will see brass, copper, and aluminum being spun. The technique remains the same.
Beads are rolled rims on metal spinnings. These rolled rims increase the strength of the finished article and improve the appearance of the spun item. Shown below are several steps involved in spinning a bead using a beading tool. It must be remembered that different sizes of beading tools are used to create a variety of beads. I have two basic styles of beading tools.
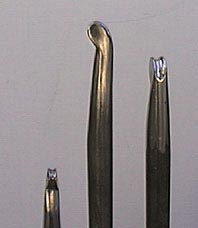
The beading tools:

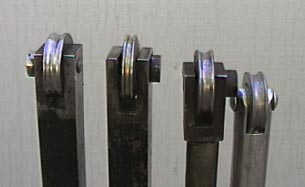
The second type is a roller type. Shown to the right are a few of my beading roller tools. The curvature of the groove is different on each roller. A larger tool was used in the examples shown below.
The technique:
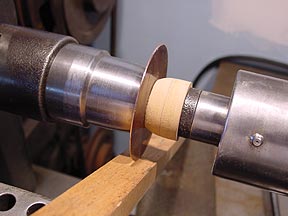
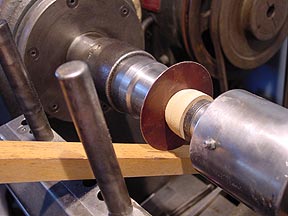
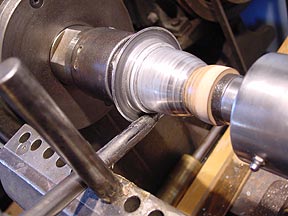
The first step is centering the disc on the lathe in preparation to spinning. A small board is used to leverage the spinning disc into a centered position. Two views of the operation are shown below. This is explained more fully on another page.
Note: Do not stand in line with the spinning disc!
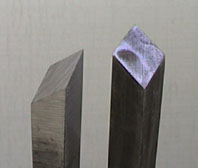
The trimming tool is used as needed to keep the spinning disc truly round. Two of my classic design diamond profile trimming tools are shown. Their use is explained elsewhere. I often utilize carbide tipped trimming tools for this trimming operation.
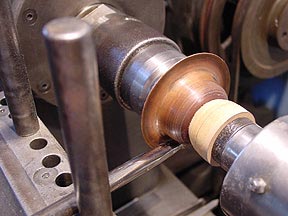
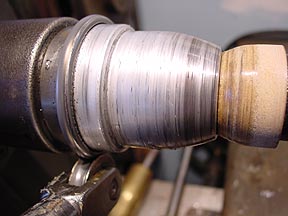
 This spinning is
almost ready for the beading.
This spinning is
almost ready for the beading.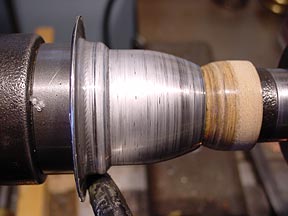
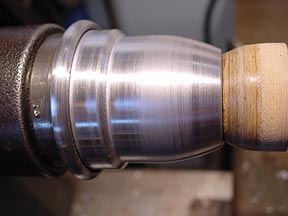
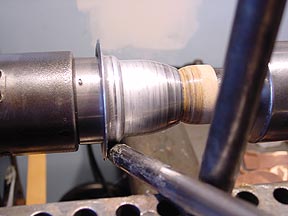 This is the time
to get everything the way you need it.
This is the time
to get everything the way you need it.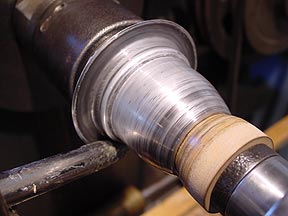
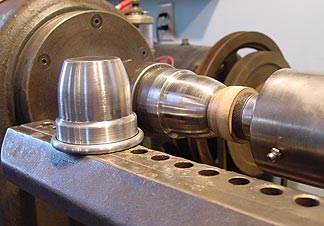
 The flat side of
a tongue tool is used to smooth the surface.
The flat side of
a tongue tool is used to smooth the surface.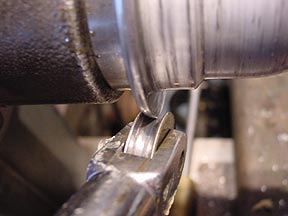
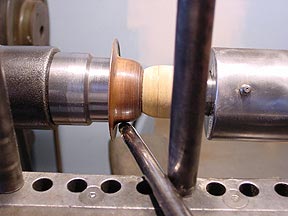
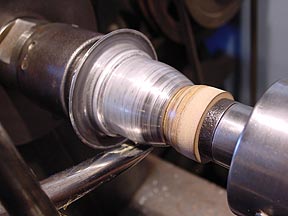
In the image to the right is shown the beading tool beginning the bead. This is done only after a final trimming to get everything true.
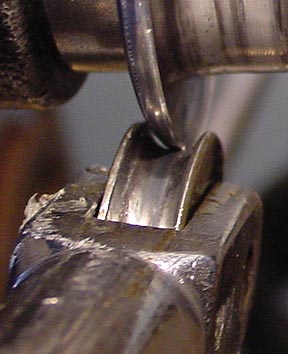
Two more views.......
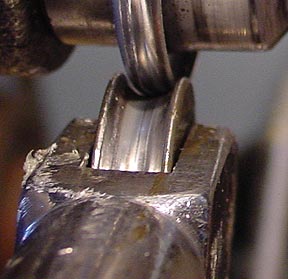

The bead closing......
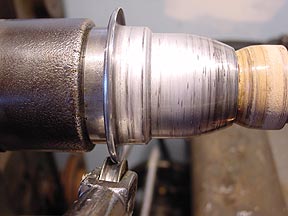
 The spinning after
cleaning up with a scratch pad.
The spinning after
cleaning up with a scratch pad.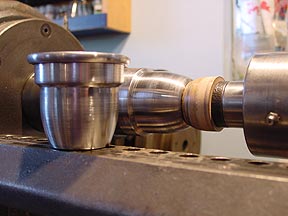
 Another view of
the completed spinning.
Another view of
the completed spinning.