Restoring a Gorton 3U Pantograph - Part 2
Copyright 2006 by James P. Riser
As soon as the fonts arrive, I'll post images
of a couple sample engravings and a couple work holding devices.
In the mean time I'll clean up another style of type holder and
a few assorted extras to go with the machine.
Work holding is always a problem on pantographs. Below
is one solution for holding thin items for profile cutting or
engraving...
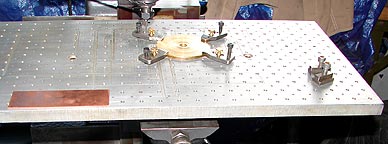 A 1" thick
aluminum plate is drilled and tapped with a grid of holes.
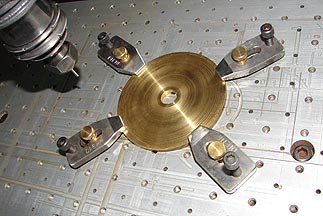
Another view...
A 1" thick
aluminum plate is drilled and tapped with a grid of holes.
Another view... 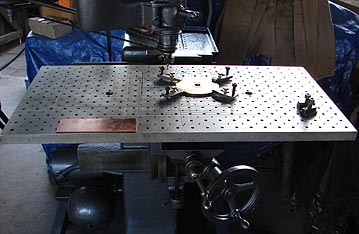 This plate is attached to the pantograph work table
with T-slot standard hold down fittings...
This plate is attached to the pantograph work table
with T-slot standard hold down fittings... 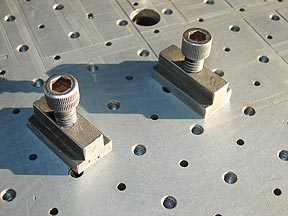
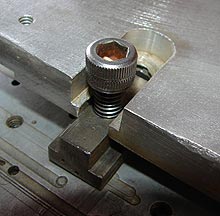
 Any number of standard
clamps are used to hold the metal.
Notice the traces of previous cutouts from the previous
owner on the metal plate surface.
Any number of standard
clamps are used to hold the metal.
Notice the traces of previous cutouts from the previous
owner on the metal plate surface. 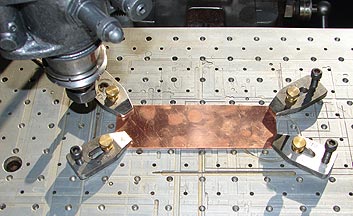 I plan on placing a thin sacrificial layer of acetate
sheet between the aluminum plate and the thin metals that I will
be profile cutting with this machine.
The use of such clamps allows clamping irregularly
shaped items and free access of the spindle cutter to the metal
surface.
I plan on placing a thin sacrificial layer of acetate
sheet between the aluminum plate and the thin metals that I will
be profile cutting with this machine.
The use of such clamps allows clamping irregularly
shaped items and free access of the spindle cutter to the metal
surface.
 A shop made vise for the Gorton 3U...
This thin material holding vise was put together from
scrap materials sitting around the shop. It was made for another
machine; but fits the Gorton 3U perfectly. The jaws of this homemade
vise are tapered for cutter clearance.
A shop made vise for the Gorton 3U...
This thin material holding vise was put together from
scrap materials sitting around the shop. It was made for another
machine; but fits the Gorton 3U perfectly. The jaws of this homemade
vise are tapered for cutter clearance.
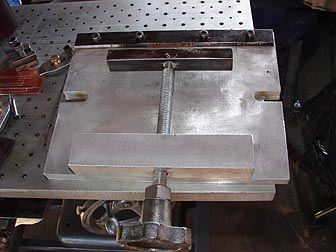
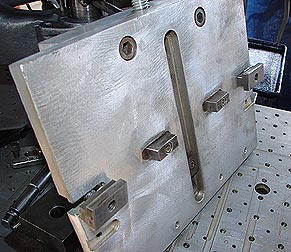
 It attaches to
the Gorton table using the T-slots. It is not attached in these
images.
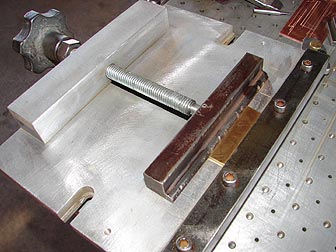
Here is an underneath view showing stationary blocks
for alignment...
It attaches to
the Gorton table using the T-slots. It is not attached in these
images.
Here is an underneath view showing stationary blocks
for alignment... 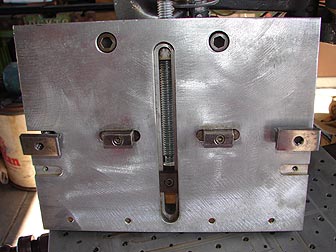
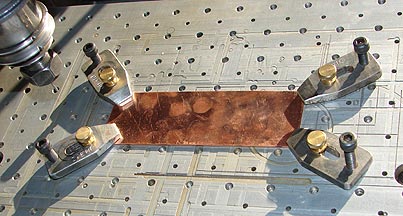
 And another view
showing alignment blocks and T-slot hold downs.
The vise holding a thin piece of brass; but vise not
clamped down to the 3U table.
And another view
showing alignment blocks and T-slot hold downs.
The vise holding a thin piece of brass; but vise not
clamped down to the 3U table. 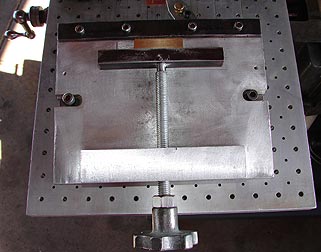 The lamp...
On the left side of the Gorton 3U is a steel "bar"
which sticks out...
The lamp...
On the left side of the Gorton 3U is a steel "bar"
which sticks out...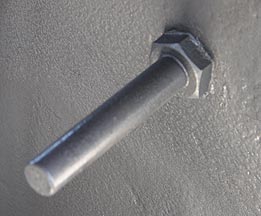 A duplicate "bar" is seen on the lamp below.
I still need to clean and paint this lamp.
A duplicate "bar" is seen on the lamp below.
I still need to clean and paint this lamp.
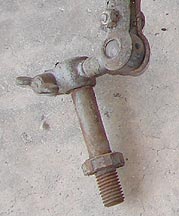 This "bar"
is a mount for the official Gorton lamp...
This "bar"
is a mount for the official Gorton lamp...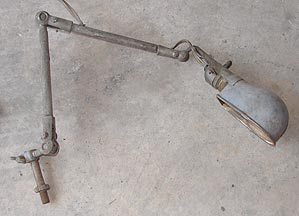
 The lamp cleaned
up, painted, rewired, and in position...
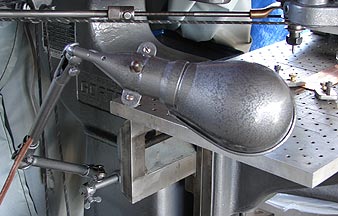
A close-up of the lamp clamp...
The lamp cleaned
up, painted, rewired, and in position...
A close-up of the lamp clamp... 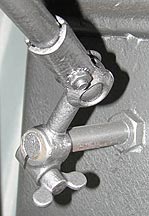 The fonts have arrived!
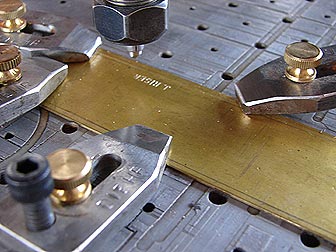
 A sample set up
for trial...
A sample set up
for trial...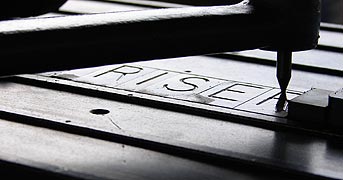 Until I get around to machining some type stops, I
am using powerful magnets to hold things in place.
I lightly oil the template letters to prevent wear
on them...
Until I get around to machining some type stops, I
am using powerful magnets to hold things in place.
I lightly oil the template letters to prevent wear
on them... 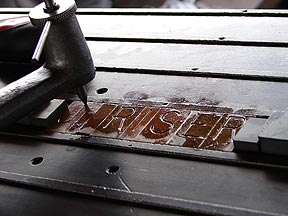
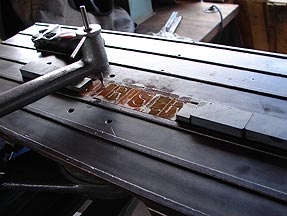
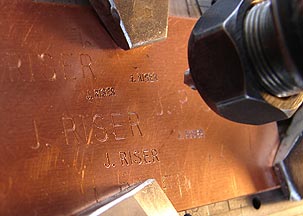 Engraving a piece
of scrap copper...
Engraving a piece
of scrap copper... 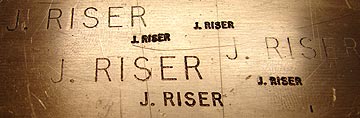
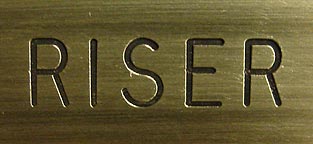
 And some easier
to engrave brass...
And some easier
to engrave brass...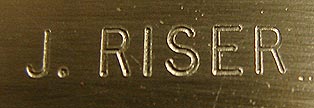 And a sample engraved on a better piece of brass...
 Another brass sample engraving with penny to show scale...
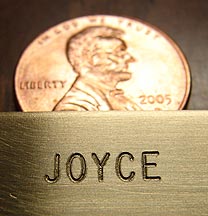
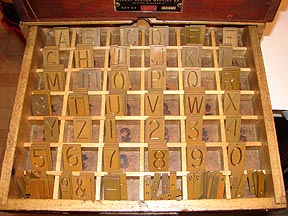
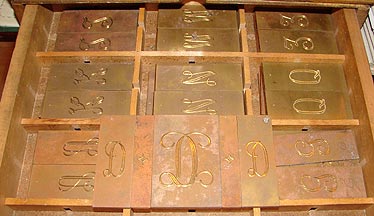
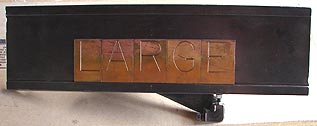 With the assorted
Gorton fonts I also received a 2 1/4" high letter set.
These are too large for the standard holder and too
small for the larger 3 1/2" Gorton type holder.
I'll machine a tapered top guide strip to secure the
letters.
This guide strip will be screwed to the type holder
shown so that these large letters may be utilized.
With the assorted
Gorton fonts I also received a 2 1/4" high letter set.
These are too large for the standard holder and too
small for the larger 3 1/2" Gorton type holder.
I'll machine a tapered top guide strip to secure the
letters.
This guide strip will be screwed to the type holder
shown so that these large letters may be utilized.
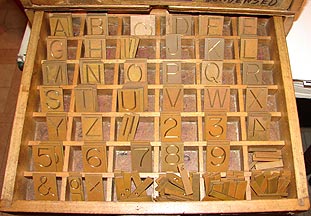
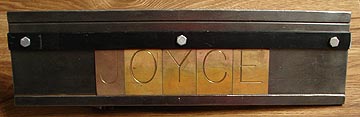 Done. The camera
makes the holder appear to be bowed on top. It is straight.
Here are a few fonts that I have found for this machine
(block, condensed, reverse, raised, monogram, etc.):
Done. The camera
makes the holder appear to be bowed on top. It is straight.
Here are a few fonts that I have found for this machine
(block, condensed, reverse, raised, monogram, etc.):
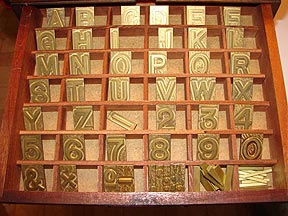
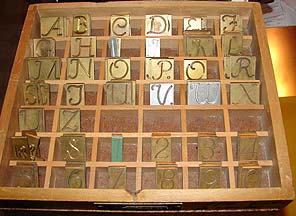 Cursive Caps and
lower case
Cursive Caps and
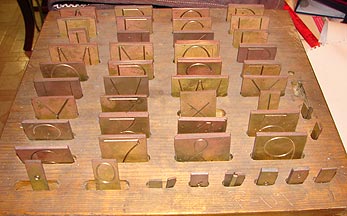
lower case 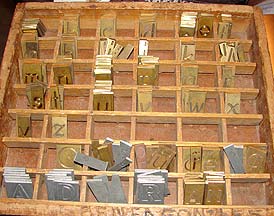 A raised reverse font for making steel stamps.
 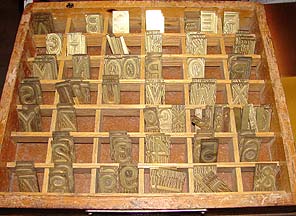 Click here to see a quick
overview of all of the fonts that I have acquired in my travels.
Click here to go to part 3
of the restoration.
Click here to see a quick
overview of all of the fonts that I have acquired in my travels.
Click here to go to part 3
of the restoration.