A Simple Method for Making a Leather Cylinder
Copyright 2009 by James P. Riser
I have been asked by a number of magicians for a simple method
for making a leather cylinder for the Cylinder and Coins effect.
The method described here is not the best way to make a leather
cylinder but the cylinder can be made without requiring a patcher
sewing machine and several different thicknesses of leather. This
method should be doable for the magician who would like to try
out the effect to see if it might fit into the performer's style
without spending a lot on a well made cylinder. This cylinder
will last a long time.
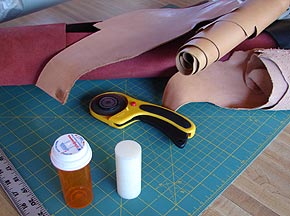
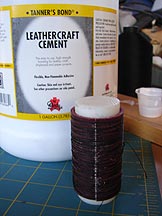
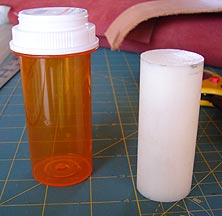 The
equipment used to make the leather cylinder or tube is
shown here. A self-sealing cutting board and its cutter,
a metal straight
edge, a scrap piece of leather, and a mandrel are enough
to do the task
at hand. I used a 3" length of delrin rod for
my mandrel but the
correct size of old pill bottle will work fine.
This cylinder is for half dollars so the mandrel is
1 1/4" in diameter.
The
equipment used to make the leather cylinder or tube is
shown here. A self-sealing cutting board and its cutter,
a metal straight
edge, a scrap piece of leather, and a mandrel are enough
to do the task
at hand. I used a 3" length of delrin rod for
my mandrel but the
correct size of old pill bottle will work fine.
This cylinder is for half dollars so the mandrel is
1 1/4" in diameter.
The first step is to get a good straight edge on the
leather. 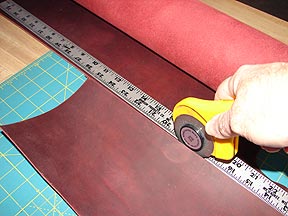
 This piece is next
squared off and then cut into a 2 1/2" wide strip.
This piece is next
squared off and then cut into a 2 1/2" wide strip. 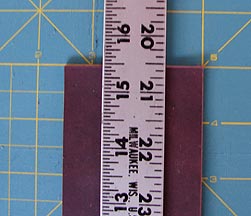
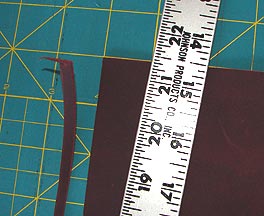
This leather strip is cut to length so that it just
wraps around the mandrel. It is held in place with tape. 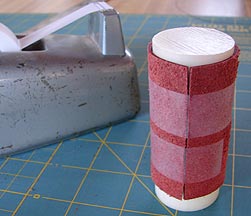
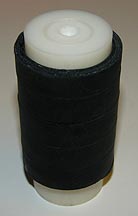
 Next the leather
was wrapped with #69 nylon thread to squeeze the leather joint
together.
Next the leather
was wrapped with #69 nylon thread to squeeze the leather joint
together.
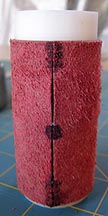
 A drop of super
glue was applied to secure the joints.
A drop of super
glue was applied to secure the joints. 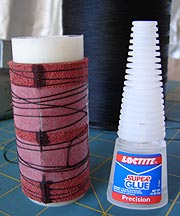 Please notice that I wanted a cylinder with the smooth
leather side on both the inside and outside of the cylionder.
I wrapped the leather with the smooth side against the mandrel.
An advantage of using delrin for the mandrel is that the super
glue will not sitck to it.
Please notice that I wanted a cylinder with the smooth
leather side on both the inside and outside of the cylionder.
I wrapped the leather with the smooth side against the mandrel.
An advantage of using delrin for the mandrel is that the super
glue will not sitck to it.
 The tape was removed,
super glue applied to the areas that were under the tape, and
all was wrapped again.
The tape was removed,
super glue applied to the areas that were under the tape, and
all was wrapped again. 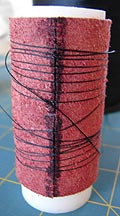
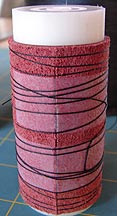
Another strip of leather was cut 2 1/2" wide.
This strip was cut to length to wrap around the inner layer of
leather.  Note: The two seams in the leather layers are
opposite each other.
Note: The two seams in the leather layers are
opposite each other.
 The leather was
glued on to the first layer (rough side to rough side) then wrapped
with thread.
The leather was
glued on to the first layer (rough side to rough side) then wrapped
with thread. 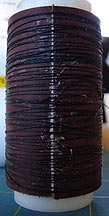
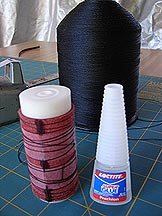
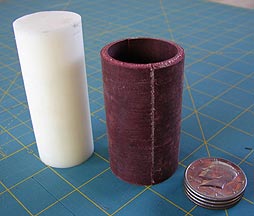 Here is the cylinder
(before oiling) next to its mandrel and coin stack.
Here is the cylinder
(before oiling) next to its mandrel and coin stack. 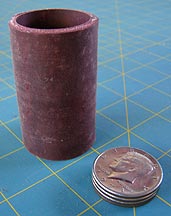
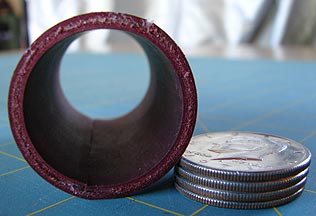 This shows the
smooth inside seam and how well the coins fit.
This shows the
smooth inside seam and how well the coins fit. 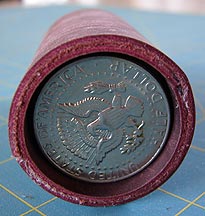
 The
leather cylinder was given a coating of oil both inside and outside.
The cylinder is to be stored and transported with its
delrin mandrel inside to prevent
getting smashed.
The glue will dry a little darker than shown here or
can be colored with
a permanent marker to match the rest of the leather.
The seam may be left as is or may be hand stitched
with a baseball stitch if desired.
The
leather cylinder was given a coating of oil both inside and outside.
The cylinder is to be stored and transported with its
delrin mandrel inside to prevent
getting smashed.
The glue will dry a little darker than shown here or
can be colored with
a permanent marker to match the rest of the leather.
The seam may be left as is or may be hand stitched
with a baseball stitch if desired.
If you want to have some fun with the cylinder, it
could be decorated to appear to be a neckerchief slide made by
a niece at camp. If this is done and the performer looks at the
tube while asking the spectators "Would you wear this?",
all will momentarily look at the tube (hint, hint).
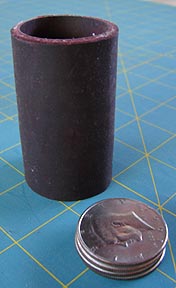
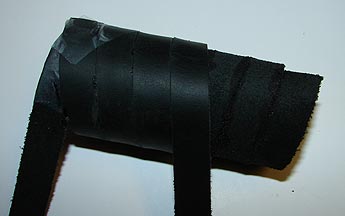
Here is another quick and easy cylinder that I first
made way back in the mid 1960's while in college and cash challenged.
It is a double reverse spiral tube.
I always called it "The Radiator Hose".
Half inch wide leather strap is wrapped around the
mandrel and glued at the seams. 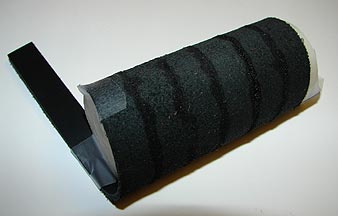
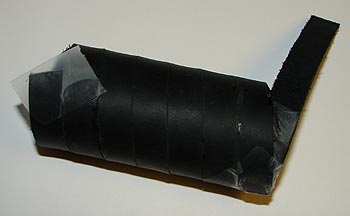
 Next a second strap is wound and fully glued down to
the first layer of strapping.
This second strap is wound the reverse direction of
the first strap for strength.
Next a second strap is wound and fully glued down to
the first layer of strapping.
This second strap is wound the reverse direction of
the first strap for strength.
 When the ends are
trimmed up, it resembles a radiator hose but works just fine with
the coin stack.
When the ends are
trimmed up, it resembles a radiator hose but works just fine with
the coin stack.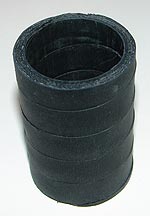 Click here to return
to the main page.
Click here to return
to the main page.